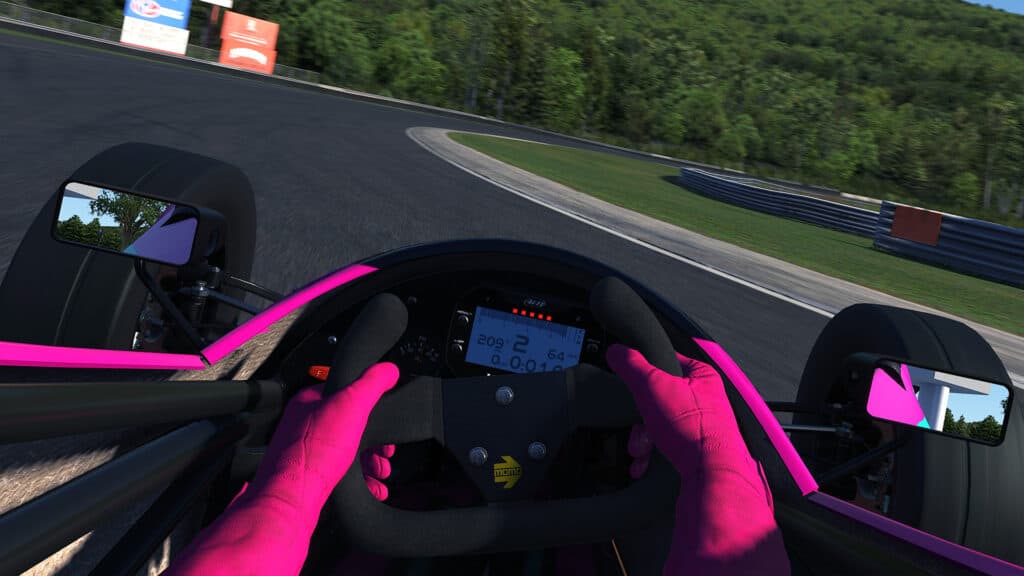
When you first jump into iRacing, there’s a lot of detail that pops up on the screen that you might not realize what it does in the first place. iRacing’s heads-up display isn’t overly flashy or complicated, and while it might seem daunting, it’s actually quite customizable once you know how to navigate it.
You should set your driver’s view, which we recommend setting to be global for one car and then ticking the box to be customized for each car afterwards. You should also choose which black boxes to show on the screen and set the buttons to turn them on or off. Finally, there’s the part about moving the HUD’s black boxes to the right places.
These are three main areas to look at when playing around with what’s on your screen. We’ve broken it all down below.
PART 1: GET THE RIGHT LOOK
To customize your view, you must first set that view. In the simulation, if you click Options in the upper-right corner of the screen, a number of modifiable settings become available. Here you can start setting up your “Driver View” on the “Drive” tab in the bottom left corner.
Hover over each of the options to see what each does, but the most important are Field Of View and Drv Height, with Shift Horizon helping to personalize that view even further. The other options adjust how the camera reacts on the track, but the first three options give you an in-car view to work with.
PART 2: LEARN AND/OR CUSTOMIZE YOUR CONTROL BUTTONS
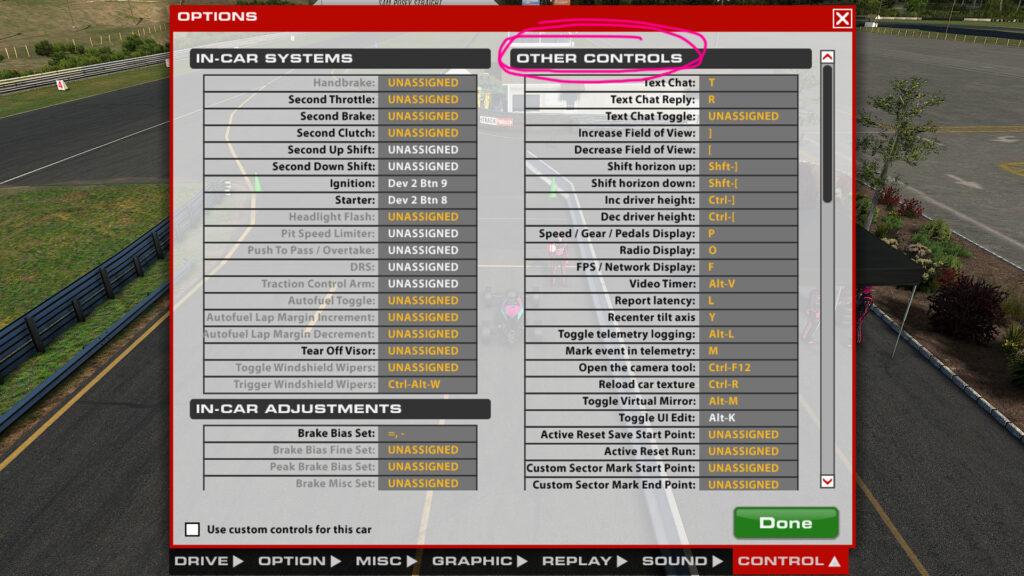
From the Options menu, click the Controls tab at the bottom right. If you have set up some controls for specific cars, such as a tear-off button or a spotlight button, you’re probably familiar with the left side of the screen.
On the right is the Other Controls column, which is important for getting everything you need for your heads-up display. The default buttons are already set. So if you don’t feel like changing these, don’t just learn what each button is and does and make a note of it.
Specific toggles for each black box on the HUD can be found here, things like speed/gear/pedal gauges, FPS/network gauges and more can be found here. If you’ve never seen anything like the “Dash Box,” it’s initially set to the D key – give it a try and see what you’re missing.
There are also buttons to adjust this in-car driver view – increase or decrease field of view, move horizon up or down, increase or decrease driver height, those in-car adjustment controls are also here. If you didn’t like the options menu, learn or set and refine these keys while in the car!
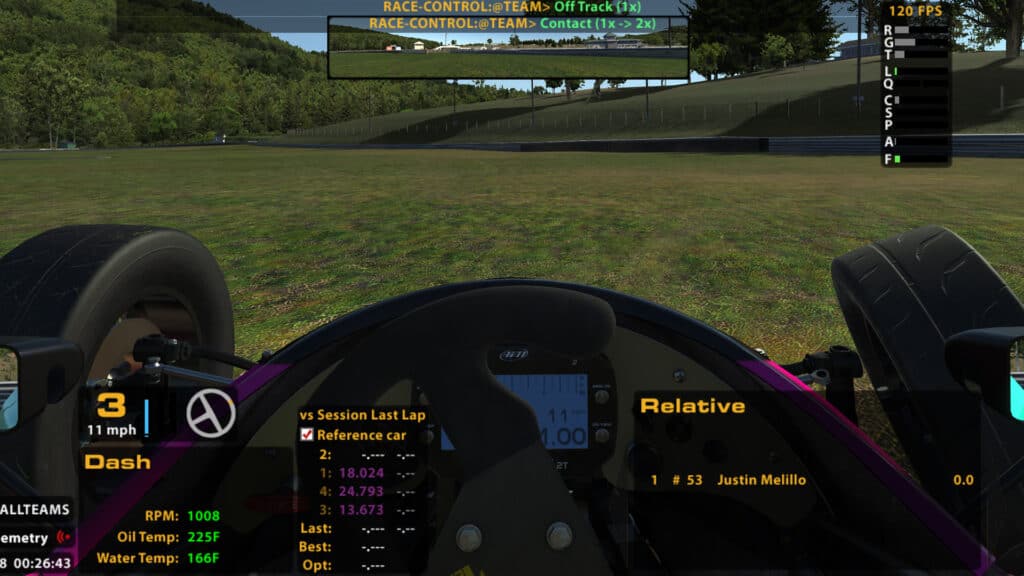
PART 3: MOVE THESE BOXES ON THE SCREEN
 ALT-K
ALT-K
This really aligns with Part 2 above, as one of the adjustable options is called “Toggle UI Edit” and that’s probably the main reason you’re reading this.
The controls are set by default to simultaneously press the ALT key and the letter “K” in the car. This can be changed to any control key, but for simplicity this is just the Alt-K option.
It’s worth noting that there will be boxes that can’t always be moved, things like voice chat or text chat, crew chief messages, pit road speed, pace speed, or flag displays that can only be moved when they appear. You must act quickly to get these in place.
Anything that can be toggled on or off including virtual mirrors, FPS display panel, speed and wheel input, shared data, pretty much anything at least can be toggled with the Alt-K option. Once you have all the boxes in the right places, press Alt-K or whatever you programmed the “Toggle UI Edit” button and it will snap into place.
Again, I recommend using custom HUD locations for each different car. Having the F3 Relative box in one place on a Formula V might not be the best place for it on a Dallara iR-01.
MORE TIPS AND TRICKS
Under the Graphics tab in the Options menu is a Display column. If you find your black boxes are too small or too big, you can set the UI zoom to different percentages. I personally like it a little smaller, so I set my UI Zoom to 80 percent.
If you are interested in having split data, these toggles can be set or explored in the Options tab under Options. You can also customize the FPS/Network Gauge field here with the data you want to know in this gauge.
Definitely take some time to dial in your perfect vision. iRacing does a good job of letting drivers choose how they want to experience the platform.
You could also turn everything off and get an even more immersive experience, although I’m not sure I’d recommend that in a competitive environment…
SOURCE: iRacing Support

